[addons] rotbone(用于像blender那样在3d视图中旋转选定的bone)win x64
这是我的第一个插件 for godot 3.1,还需要改进。
我写这个工具,主要是想简单地修改一下从其它软件导入godot中的骨架的pose,而不用重复导入,但操作很像在blender里调整骨骼的过程.
这个工具使用了gdnative写的.但以后可以用gdscript重写一遍,主要也是为了学习与实践gdnative.
使用方法:
在场景串选中骨架 Sceleton 后,按中键是选择单个bone 然后点击R键一下并移动鼠标是旋转bone,按alt+r 一下 是归零pose.
当按了R键进入旋转状态时再按 X 或Y 或Z 键是限定轴向旋转.

相关帖子:
https://godotdevelopers.org/forum/discussion/20360/addons-rotbone-for-rotating-a-selected-bone-in-the-3d-viewport-like-blender-does-win-x64?new=1
下载:
https://pan.baidu.com/s/1gRqwcoM2dkQn9njq0ftJDA
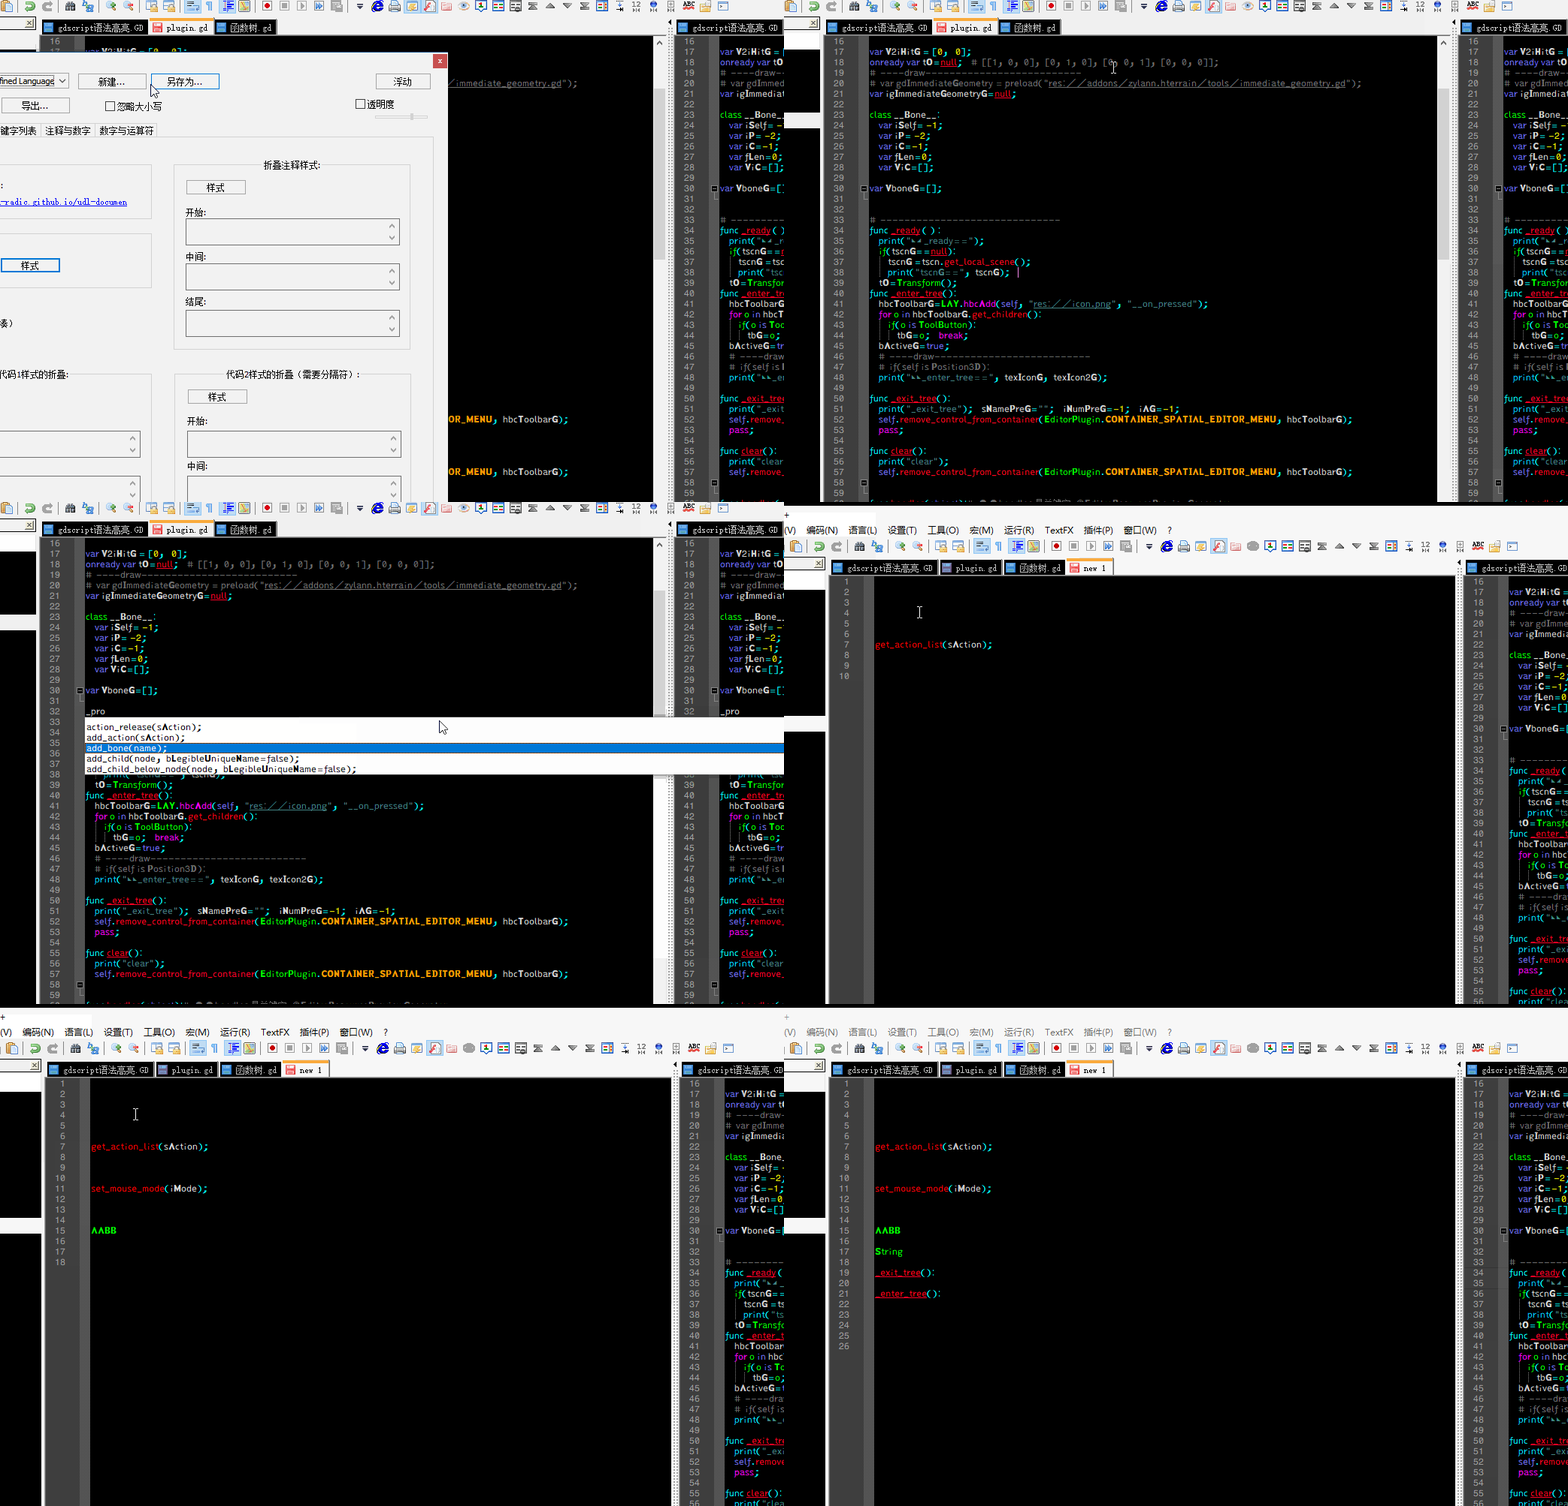
gdscript自动补全与语法高亮(for notepad++)
相比godot的文本编辑器,我个人更喜欢用notepad++写代码.当然用外部编辑器写gd脚本会用点不方便,
于是我改造了notepad++ 的自定义语言,增加了gdscript的支持,包括自动补全与语法高亮.

以下是两个放进notepad++ 的文件:
链接:https://pan.baidu.com/s/1Efx13JREwZWX3V2uMR4uUA 提取码:r5zd
使用方法:
打开notepad++的自定义语言面板,导入notepad++自定义语言(gdscript)版.xml,
然后打开E:\Notepad++\plugins\APIs\文件夹 把 gdscript.xml 文件放进去,
那么在notepad++ 编辑gdscript脚本时就有自动补全与语法高亮.
在gdnative里卸载自身dll
在gdnative里卸载自身dll,而不用重启godot
godot的gdnative库是以dll的动态链接库的形式载入到主程序的.所以一但打开了godot成功载入了dll 那么,就无法重新编译dll的代码,直到关闭godot,dll从内存卸载才可以重编译.
我也没有在gdnative的相关代码里找到可以用脚本卸载dll的方法.于是百度了一下.找到一个可以用dll卸载自身的方法.也就是这个卸载的函数是在dll自己的代码里.
HMODULE hmSelfG=NULL;

//====Unload Self dll ====================================

DWORD UnloadSelf(PVOID param)

    {

    FreeLibraryAndExitThread(hmSelfG, 0);

    return 0;

    }

void  UnloadSelfEX()

    {

    CloseHandle( CreateThread(NULL, 0, UnloadSelf, NULL, 0, NULL) );

    }

BOOL DllMain(HINSTANCE hinstDLL, DWORD fdwReason, PVOID lpvReserved)

{

    switch (fdwReason)

        {

        case  DLL_PROCESS_ATTACH:

            {

            hmSelfG = (HMODULE)hinstDLL;  //当dll加载到godot时,获取这个 dll句柄

            break;

            }

    }

    return TRUE;

}
当dll载入时 自动运行DllMain,并把自身的句柄保存到hmSelfG全局变量,当要卸载自己时,只要运行了UnloadSelfEX()函数就可以把自己卸载了.
编译godot官方 gdnative 例子
这个例子可在这里下载 https://github.com/BastiaanOlij/gdnative_cpp_example
我在这里主要讲一下在编译过程中遇到的问题与解决方法.
前提是你已经编译好gdnative的库,并设置好include路径,
打开gdnative_cpp_example-master 目录 修改SConstruct:
#target = ARGUMENTS.get("target", "debug");#■■--
target = ARGUMENTS.get("target", "release");#■■++
# env.Append(LIBPATH=[cpp_bindings_path + 'bin/'])#■■--
# env.Append(LIBS=[cpp_library])#■■--
env.Append(LIBS=['libgodot-cpp.windows.release.64'])#■■++ 这个是你编译好gdnative库后在 bin/libgodot-cpp.windows.release.64.lib 的静态库文件,我这这里是编译为release版本,我发现如果编译成debug版本会出错.
env.Append(LIBPATH=[ 'E:/godot/GDNative/bin' ])#■■++ 这个是libgodot-cpp.windows.release.64.lib 静态库路径
注:因为我在编译过程中遇到一些问题,所以我自己在这个样例前面增加了一个gdnative源码的include 目录以确保编译过程中不会发生依赖路径的错误.
以下代码可以直接加在这个样例gdexample.cpp的代码开头,(也可以把这些代码保存为一个头文件再在dexample.cpp的代码开头include一下).
//====h==========================
#include <Godot.hpp>
#include"E:\godot\GDNative\include\core\GodotGlobal.hpp"
#include"E:\godot\GDNative\include\core\Transform2D.hpp"
#include"E:\godot\GDNative\include\core\Quat.hpp"
#include"E:\godot\GDNative\include\core\Basis.hpp"
#include"E:\godot\GDNative\include\core\Array.hpp"
#include"E:\godot\GDNative\include\core\Vector2.hpp"
#include"E:\godot\GDNative\include\core\Vector3.hpp"
#include"E:\godot\GDNative\include\core\Dictionary.hpp"
#include"E:\godot\GDNative\include\core\Rect2.hpp"
#include"E:\godot\GDNative\include\core\Variant.hpp"
#include"E:\godot\GDNative\include\core\PoolArrays.hpp"
#include"E:\godot\GDNative\include\core\NodePath.hpp"
//====cpp==========================
#include"E:\godot\GDNative\src\core\GodotGlobal.cpp"
#include"E:\godot\GDNative\src\core\Transform2D.cpp"
#include"E:\godot\GDNative\src\core\Quat.cpp"
#include"E:\godot\GDNative\src\core\Basis.cpp"
#include"E:\godot\GDNative\src\core\Array.cpp"
#include"E:\godot\GDNative\src\core\Vector2.cpp"
#include"E:\godot\GDNative\src\core\Vector3.cpp"
#include"E:\godot\GDNative\src\core\Dictionary.cpp"
#include"E:\godot\GDNative\src\core\Rect2.cpp"
#include"E:\godot\GDNative\src\core\Variant.cpp"
#include"E:\godot\GDNative\src\core\PoolArrays.cpp"
#include"E:\godot\GDNative\src\core\NodePath.cpp"
#include"E:\godot\GDNative\src\core\String.cpp"
//-----------------------------------------------------------------------
然后在gdnative_cpp_example-master 右键打印命令窗口 直接输入scons 按回车就 会生成一个libgdexample.dll 文件在E:\godot\Godot_example\GDNative-demos-master\gdnative_cpp_example-master\demo\bin\win64

//-----------------------------------------------------------------------
在godot打开这个demo 运行游戏,然后会在控制窗口看到自己在代码中添加的打印信息.

编译godot 的GDNative 库
如果没有安装python就先安装python,再安装scons.
设置系统环境变量PATH. 增加E:\Python\Scripts 路径 (因为scons安装后在这个目录里).

(1):如果你想在scons里指定INCLUDE与LIB 自定义路径,可以通过修改scons源码实现,找到E:\Python\Lib\site-packages\scons-3.0.0\SCons\Script\Main.py, 在def main(): 函数的开头里增加以下代码.
LIBS=['user32','kernel32','uuid','ws2_32','winmm','ole32'];
LIBPATH=['E:/Microsoft Visual Studio 12.0/VC/Tools/MSVC/lib/x64','E:/Microsoft Visual Studio 12.0/VC/Windows Kits/7.1A/Lib/x64'];
CCFLAGS = ' /D "UNICODE" /D "WIN32" /D "_UNICODE" ';
SCons.Defaults.DefaultEnvironment(LIBS=LIBS,LIBPATH=LIBPATH,CCFLAGS=CCFLAGS);
(这是自定义path路径,就是你vc12里的cl.exe路径)
(2):然后在E:\Python\Lib\site-packages\scons-3.0.0\SCons\Platform\win32.py 的def generate(env): 函数
把env.AppendENVPath('PATH', get_system_root() + '\System32') 注释掉替换以下代码:
myvs_home="E:\\Microsoft Visual Studio 12.0"
garfield_path1=myvs_home+"\\VC\\Tools\\MSVC\\bin\\HostX64\\x64"
garfield_path2=myvs_home+"\\Common7\\IDE"
garfield_path3=myvs_home+"\\Common7\\Tools"
garfield_path_string=garfield_path1+';'+garfield_path2+';'+garfield_path3
env.AppendENVPath('PATH', garfield_path_string);#SCons\Environment.py
env.Append(CPPPATH=[ 'E:/Microsoft Visual Studio 12.0/VC/Tools/MSVC/include']);
(这是增加自定义的include路径)
以上两种增加自定义路径的方法是以修改scons源码实现的,这样 可以不用每个项目都改路径.
如果你不想修改源码,也可以在你项目的SConstruct 文件里修改自定义路径与包含目录.
(3):跟着就是编译gdnative库,假设你已经下载好ndnative库(分别下载:https://github.com/GodotNativeTools/godot_headers 与 https://github.com/GodotNativeTools/godot-cpp),解压为GDNative文件夹.

打开GDNative的源码目录,在空白处按shift 加右键 选择在此处打开Powershell窗口,弹出命令窗口,写入scons p=windows tagert="release" regenerate_bindings=yes VERBOSE=1 命令开始编译如下gif.

我上面是编译成debug版本,不过我发现编译成debug版本不能在godot里正常导入dll,不知什么原因,只有我编译成release版本才解决问题.
要编译成release版本我直接修改 gdnative下的SConstruct 文件 注释一行,增加一行:
#opts.Add(EnumVariable('target', 'Compilation target', 'debug', ('debug', 'release')));#■■--
opts.Add(EnumVariable('target', 'Compilation target', 'release', ('debug', 'release')));#■■++


